 How-to
7 Historic Venue Wedding Photography Tips That Work
Last Updated: October 25, 2026
Quick Summary
Historic venue wedding photography works best when you scout the room at the same time of day as the event, find your window light first, and build each shot around it. Plan a wide architectural frame followed by two people-focused frames in the same spot so the building never overwhelms the couple.
- Walk the room at the same time of day as your ceremony and note where daylight lands and shifts.
- For every wide architectural frame, shoot two people-focused frames in the same location before moving on.
- Golden hour portraits need about 30 minutes of buffer when building your timeline around sunset.
- Get the venue's photography and vendor rules in writing and share them before the walkthrough.
- Confirm load-in routes, earliest access, and latest strike times, since historic spaces often book back-to-back events.
Table of Contents
- Why Historic Venues Photograph Differently
- Wedding Photography Tips for Indoor Venues With Old Bones
- Historic Wedding Venue Photo Ideas Worth Stealing
- Your Wedding Venue Photography Checklist
- Building a Wedding Day Photography Timeline Around Daylight
- Respecting the Building: Preservation Rules and Logistics
- Book a Walkthrough at 1835 Event Hall
- Frequently Asked Questions
Why Historic Venues Photograph Differently
Historic venue wedding photography rewards couples who understand one thing: old buildings were not designed for cameras.
Historic venue wedding photography is the practice of planning and shooting a wedding inside an older building, where architecture, mixed light, and preservation rules shape every frame. The results can be stunning.
Below, we break down the tips that actually work, from scouting to sunset.
What Old Buildings Give You That Ballrooms Don't
Character you cannot buy. Exposed brick, original tin ceilings, tall windows, worn wood floors. Every frame carries texture and depth.
A ballroom gives you a blank box. A historic hall gives you a backdrop that already tells a story. Couples often pick these spaces because the room itself does half the work.
The Tradeoff: Mixed Light and Tight Corners
Here is what most guides skip. Old buildings fight your camera.
- Window light on one side, dim corners on the other
- Ceilings too high for a bounce flash to reach
- Rooms that photograph beautifully but leave little room to back up
None of this is a dealbreaker. It just means the photographer needs a plan before the day starts. That plan begins with a walkthrough.
Wedding Photography Tips for Indoor Venues With Old Bones
The best wedding photography tips for indoor venues start with light, not gear. Find your window light first, then build the shot around it.
Walk the room at the same time of day as your ceremony. Note where daylight lands and when it shifts. Then:
- Scout the getting-ready room. Look for a window with soft, indirect light. That is your portrait spot.
- Test your camera settings in manual mode. Set exposure for the windows, then lift the shadows in editing.
- Bring backup equipment. Extra memory cards, a second body, and a fast lens for low light.
- Use shaded areas outdoors. Open shade near the building beats harsh sun every time.
- Ask about indoor lighting rules. Some halls restrict flash near fragile finishes.
A common mistake is shooting the ceremony space cold, with no test shots. Ten minutes of practice saves an hour of fixing.
Historic Wedding Venue Photo Ideas Worth Stealing
Great historic wedding venue photo ideas lean on the building, not against it. The unique angle most guides miss is balance: you are telling two stories at once, the scale and character of the place, and the people who chose it.
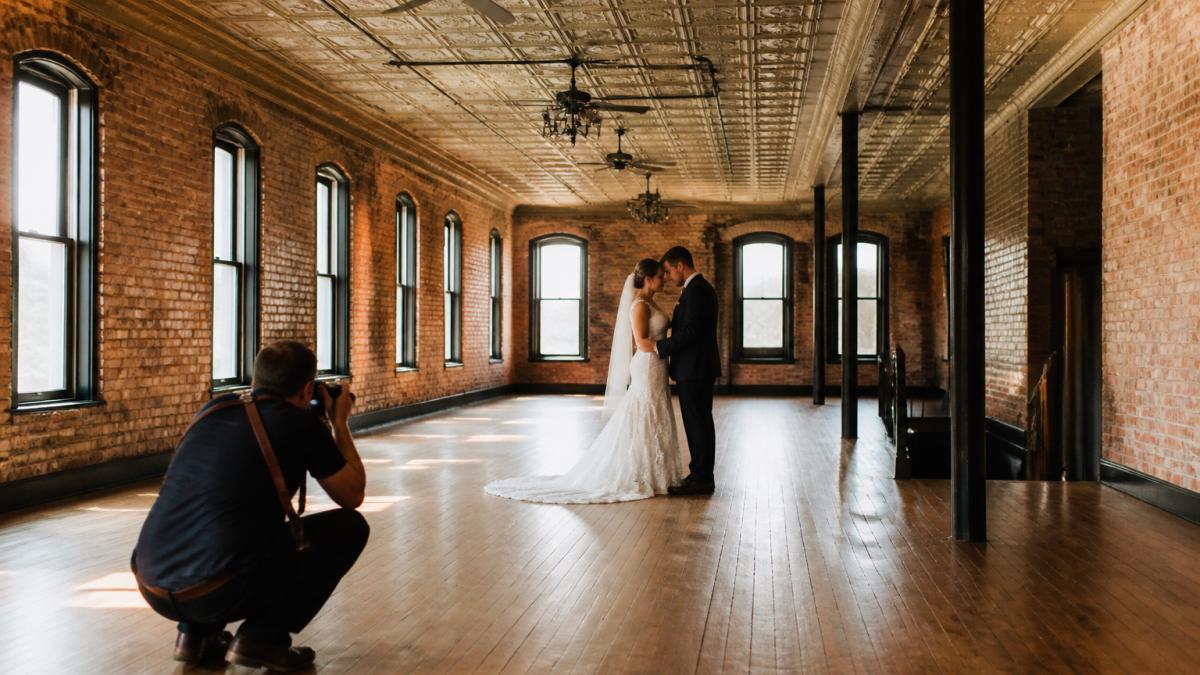
Frames That Establish the Place
Use these to show scale and character, then follow with people-focused frames so the venue never overwhelms the couple.
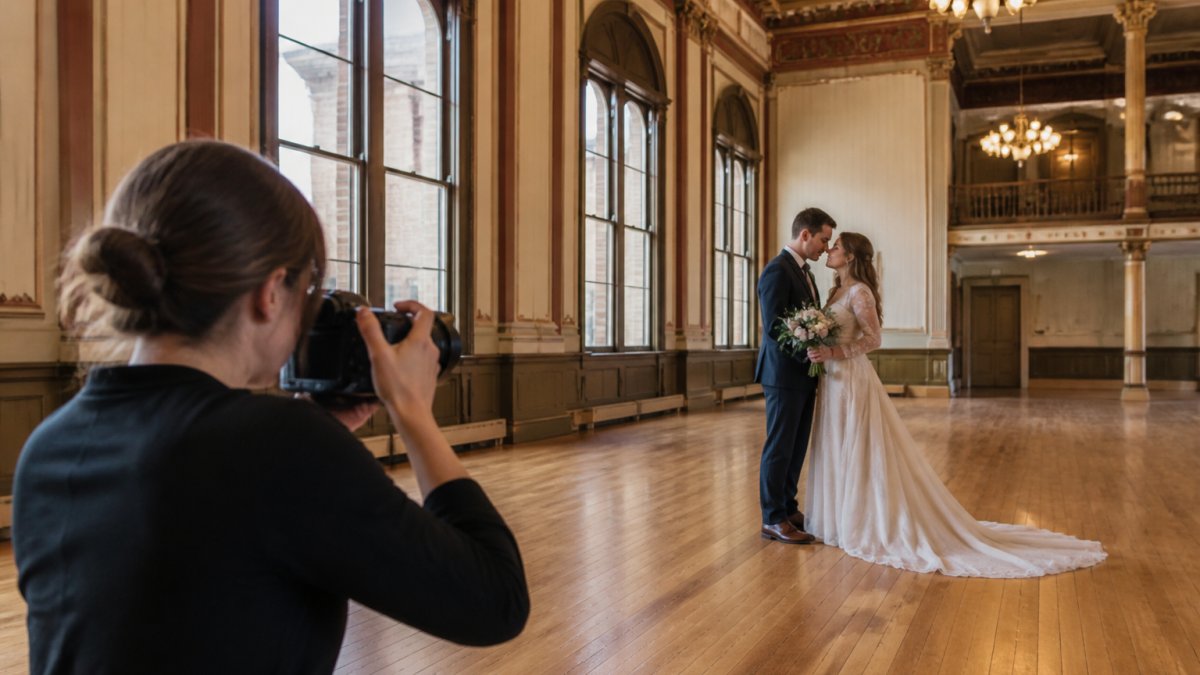
- The threshold frame. Put the couple in a tall doorway or arch and shoot from far enough back that the doorframe, molding, and floor all read. This is the single most reliable way to show a historic room's height and proportion in one image.
- The ceiling-and-guests wide. Shoot the ceremony from the back corner with a wide lens, low to the floor, so the tin ceiling or trusses and the seated guests appear in the same frame. This is the shot that proves the room's scale.
- The texture detail. Original fixtures, worn stair treads, brick, and handrails photograph best in soft side light, not direct sun. Shoot these during the same window-light hours you use for getting-ready portraits.
- The exterior establishing shot. A wide frame of the building at dusk, with warm interior light spilling through the windows, gives the album a sense of place that no interior shot can.
Frames That Keep People Prominent
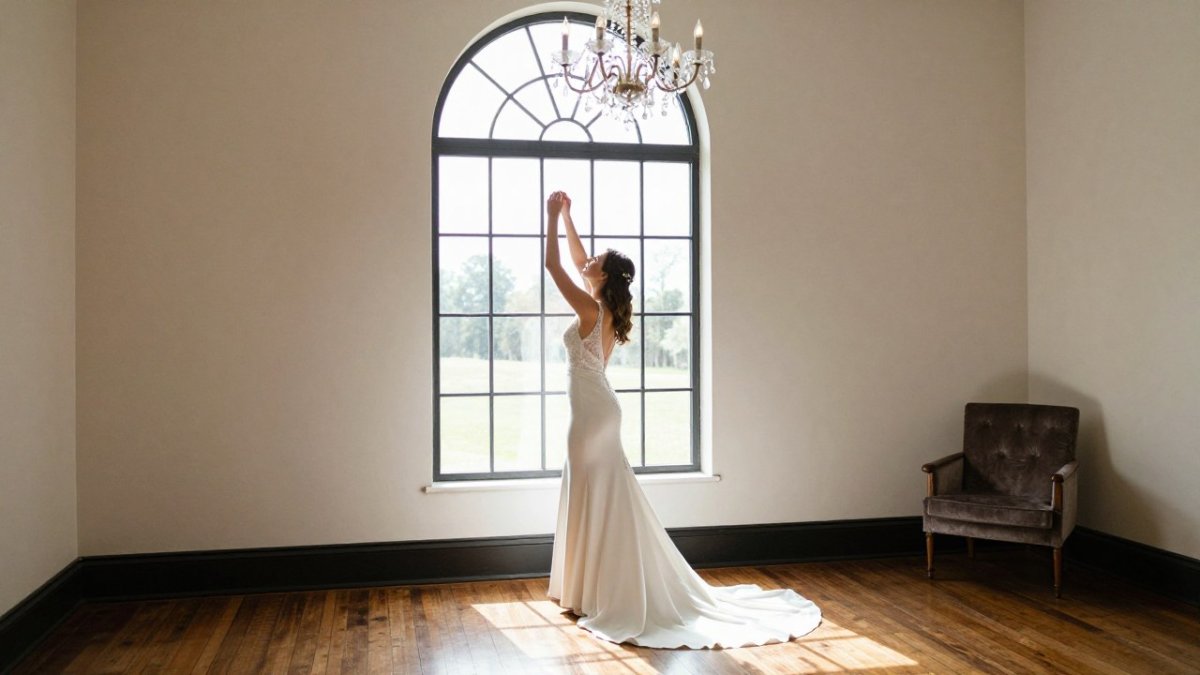
- The window-lit portrait. Place the couple parallel to a large window, not facing it, so soft directional light falls across faces while the room stays visible behind them. This is the workhorse historic-venue portrait.
- The candid in the getting-ready room. Window light on the dress, hands, and jewelry reads as texture and intimacy at the same time.
- The processional from the side aisle. Shooting down the side aisle keeps the couple large in frame while the architecture stays in the background.
- The first-dance backlight. Position yourself so the couple is between you and the room's warm fixtures or a window; the ambient glow separates them from the dark wood behind.
The Balance Rule
A practical pattern many historic-venue photographers use: for every wide architectural frame, shoot two people-focused frames in the same location before moving on. That ratio keeps the album from turning into a real-estate portfolio while still preserving the character the couple paid for. When you scout, mark two or three spots where the architecture is strongest and plan a wide-plus-two-portraits sequence at each one.
Your Wedding Venue Photography Checklist
A wedding venue photography checklist keeps a fast-moving event from swallowing the shots you wanted. Build it with your photographer before the day.
- Walkthrough booked at the same time of day as the event
- Window-lit getting-ready room confirmed
- Ceremony and reception space scouted for composition
- Backup equipment and extra memory cards packed
Print it. Share it. A checklist beats memory on a day that moves fast.
Building a Wedding Day Photography Timeline Around Daylight
Your wedding day photography timeline should follow the sun, not the schedule. Daylight is your best and cheapest light source. Plan around it.
Work backward from sunset. Golden hour portraits need about 30 minutes of buffer. Ceremony light depends on which windows face the sun.
A simple approach:
| Time Block | What to Shoot | Why It Works |
|---|---|---|
| Morning | Getting-ready portraits | Soft, indirect window light |
| Midday | Ceremony and family shots | Shaded areas and indoor spaces |
| Late afternoon | Couple portraits | Warm, angled daylight |
| Sunset | Outdoor portraits | Best color of the day |
| Evening | Reception candids | Indoor lighting and ambient glow |
Share this timeline with the venue early. Historic spaces often book back-to-back events, so timing matters.
Respecting the Building: Preservation Rules and Logistics
Old buildings come with rules, and they exist for good reason. The gap most wedding-photography guides leave open is logistics: historic properties are not just photographically different, they are operationally different. Narrow staircases, long walks from parking, limited power, and fragile finishes all shape what you can shoot and when. Ask about all of it before the wedding, not during setup.
Preservation Rules to Confirm in Writing
Common restrictions at historic properties include:
- No nails, tape, or adhesive on original finishes, including plaster, woodwork, and painted surfaces
- Limits on open flame, including unity candles and sparklers
- Rules about moving antique furniture, which can scratch floors or damage pieces that cannot be replaced
- Tripod limits in tight or high-traffic spaces
Get the venue's photography and vendor rules in writing and share them with your photographer and planner before the walkthrough. A rule discovered during setup is a shot you lose.
Logistics That Change the Shoot
- Narrow staircases and tight corridors. Historic buildings often have one main staircase. Plan portrait sequences that do not require moving a large party up and down repeatedly, and scout a backup portrait location on the ground floor.
- Long walks from parking and load-in. Confirm where vendors and photographers load in, how far the walk is, and whether carts are allowed. A long walk eats setup time.
- Accessibility. Ask about elevator access, step-free routes, and restroom locations for guests with mobility needs. This affects both guest experience and where you can shoot group photos.
- Power availability. Older buildings may have limited outlets or shared circuits. Confirm where you can plug in lights or charge gear, and bring battery power as a backup.
Photographing Without Damaging
Photographing historic architecture without damaging it comes down to a few habits: use existing light where you can, keep gear and bags off finished walls and furniture, do not lean on railings or doorframes, and leave every room as you found it. When in doubt, ask venue staff before moving anything.
The National Park Service guidance on preserving historic properties offers useful context on why these protections matter and how historic properties are maintained.
A Historic-Venue Scouting Checklist
Use this during the walkthrough so the logistics are settled before the wedding day:
- Ceremony space: light direction, guest sightlines, and photographer positions
- Portrait locations: two indoor and one outdoor backup, each checked at the event's time of day
- Reception space: ambient light, outlet locations, and where a light stand can safely go
- Access: load-in route, distance from parking, elevator or step-free routes
Print it, share it with the couple and planner, and bring it to the walkthrough. A checklist beats memory on a day that moves fast.
Book a Walkthrough at 1835 Event Hall
The best way to plan historic venue wedding photography is to stand in the room.
Our restored 1870 hall offers exposed brick, original tin ceilings, and a rustic speakeasy, all in the heart of downtown.
If you are weighing your options, our guide on what to look for in wedding venues walks through the questions that matter most.
Get started with 1835 Event Hall and give your photographer a space worth capturing.
Frequently Asked Questions
How do you photograph a wedding in a historic venue?
Start with a walkthrough before the wedding day so you know where the window light falls and when. Shoot in manual mode so mixed interior lighting does not confuse the camera, and bracket exposures in rooms with bright windows and dark corners. Bring fast lenses for low-light ceremony spaces, and always ask the venue which walls, fixtures, and surfaces you can touch or mount equipment on. Historic venue wedding photography works best when the plan is built around the building rather than against it.
How do you take good wedding photos in a dark indoor venue?
Push your ISO before you push your flash. Modern cameras handle high ISO well, and available light keeps the room's character intact. When you do use flash, bounce it off a neutral ceiling or wall rather than firing direct, and avoid aiming it at original plaster or artwork. Position the couple near the brightest window in the room and expose for their faces, letting the background fall darker. For wedding photography tips for indoor venues, the rule is simple: find the light first, then place people in it.
What should couples ask their wedding photographer about the venue?
Ask whether they have shot there before, how they handle mixed interior lighting, and what backup gear they carry. Confirm they will do a site visit with you, and ask how they plan around venue restrictions on tripods, flash, or moving furniture. A photographer who photographs historic buildings regularly will already know to check for fragile surfaces and load-in rules. Put these answers in writing alongside your wedding venue photography checklist so nothing gets forgotten in the final weeks.
When should couples schedule portraits at a historic venue?
Work backward from sunset. Golden hour portraits outdoors usually land 60 to 90 minutes before sunset, with family and wedding party photos before that. Interior portraits in a historic hall are often best in late afternoon when window light is soft and directional. Build a wedding day photography timeline that leaves 15 minutes of buffer around each block, because older buildings mean longer walks between the getting-ready room, ceremony space, and reception space.
Your wedding photos should look like the day you remember, not a generic ballroom. Book a walkthrough at 1835 Event Hall and see the light, the space, and the character for yourself.